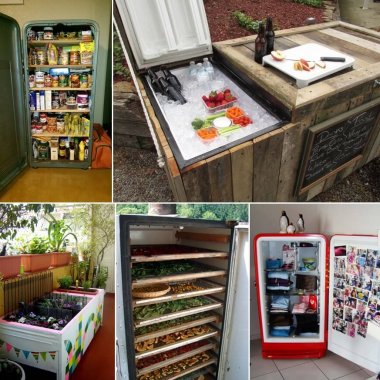
A Rustic Cooler Matt2 Silver at instructables has shared a project where he has covered an old refrigerator with pallets and after adding the necessary hardware he has turned that old fridge into Read More
A Concrete Planter Catherine Elsby at The Rustic Willow came up with a truly unique and interesting idea of making a concrete planter using an old towel. The resulting shape of the planter is Read More
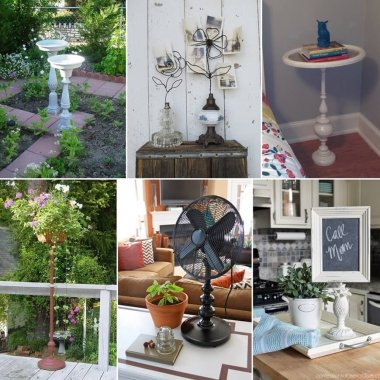
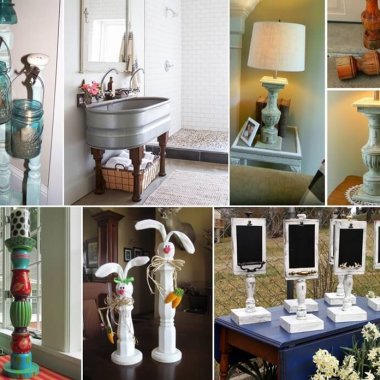
Chic Candlesticks Shabby Chic Inspired Blog has shown us a great way to display our candles. Simply plan a visit to your local flea market, grab some old lamp bases, give them a nice coat of Read More
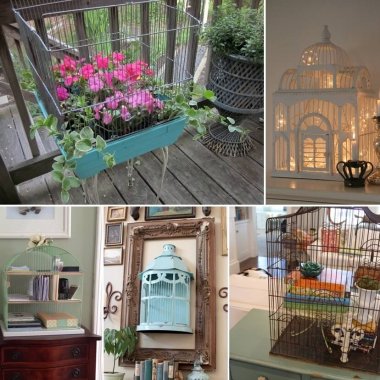
A Framed Birdcage Rhoda at Southern Hospitality Blog has used a birdcage in a way probably no one could think of. She has used half of a birdcage painted aqua and has framed it to become the part Read More
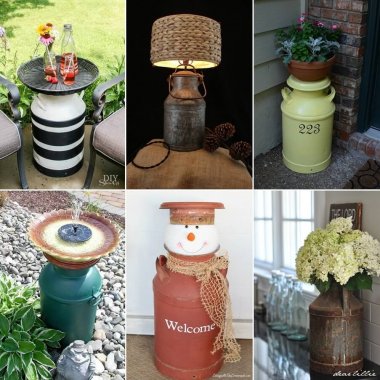
A Table Lamp Etsy Shop Benclif Designs has amazingly rethinked an old milk can into a table lamp. The milk can is serving as the lamp base and for the lampshade they have used woven sea grass. Read More
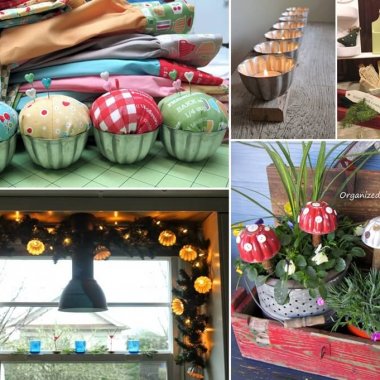
Cute Pin Cushions Lori Holt at Bee In My Bonnet has re-thinked four old jello molds into cute pincushions using lovely prints of fabric. A pin cushion like this can be a great addition to your Read More
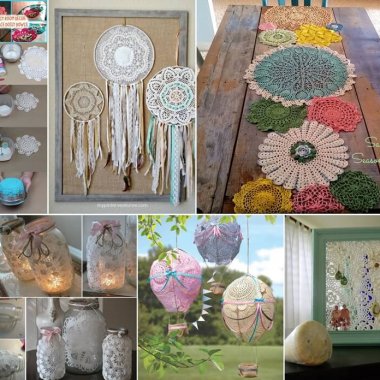
Lace Doily Bowls Tanner Bell at A Little Craft in Your Day has shared a wonderful way to create lace bowls using doilies. All you need to do is to take a mixture of fabric stiffener and acrylic Read More
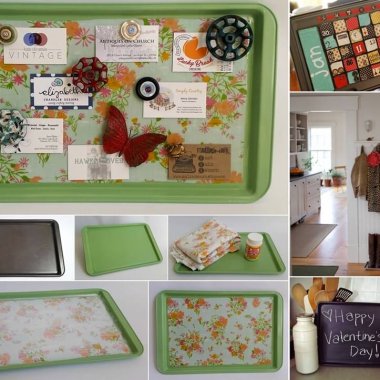
A Magnetic Board Sarah at Sadie Seasongoods painted an old cookie sheet in a lovely green color. After that she mod podged a fabric inside the tray and then turned it into a cool printed memo Read More
Table Leg Lamps Terry Moore of Forever Decorating had two old and ugly legs of a table. She gave them coats of paint and then gave them a distressed look. After that she drilled holes in the legs Read More